Friday, August 23, 2013

August Kiwi Crate


We spent our nights this week doing crafts out of our August Kiwi Crate. I absolutely love these crates and each month they continue to get better. This month had a "flight" theme and we got to make kites, rockets, and other fun paper planes. Also, this month they introduced a magazine that will be added in each crate going forward. I honestly have no idea how they are able to cram so much stuff inside the box!!

Here is a peek at what was inside when we first opened the box....


 Of course both of my kids have come to recognize the green crate and insist on doing a craft as soon as it arrives. So our first activity was the kite!


Each craft has a great set of instructions and everything you need is in the box. So we gathered what we needed and got to work!


Of course I failed to take a picture of them outside with their kites. But both Liv and Bennett had a blast and surprisingly the kites held up! Plus their was enough material to make two kites for each kid so we will be doing this again someday (I opted to add extra supplies for $7.95 to my subscription so both Alivia and Bennett get to craft together and there is no fighting).

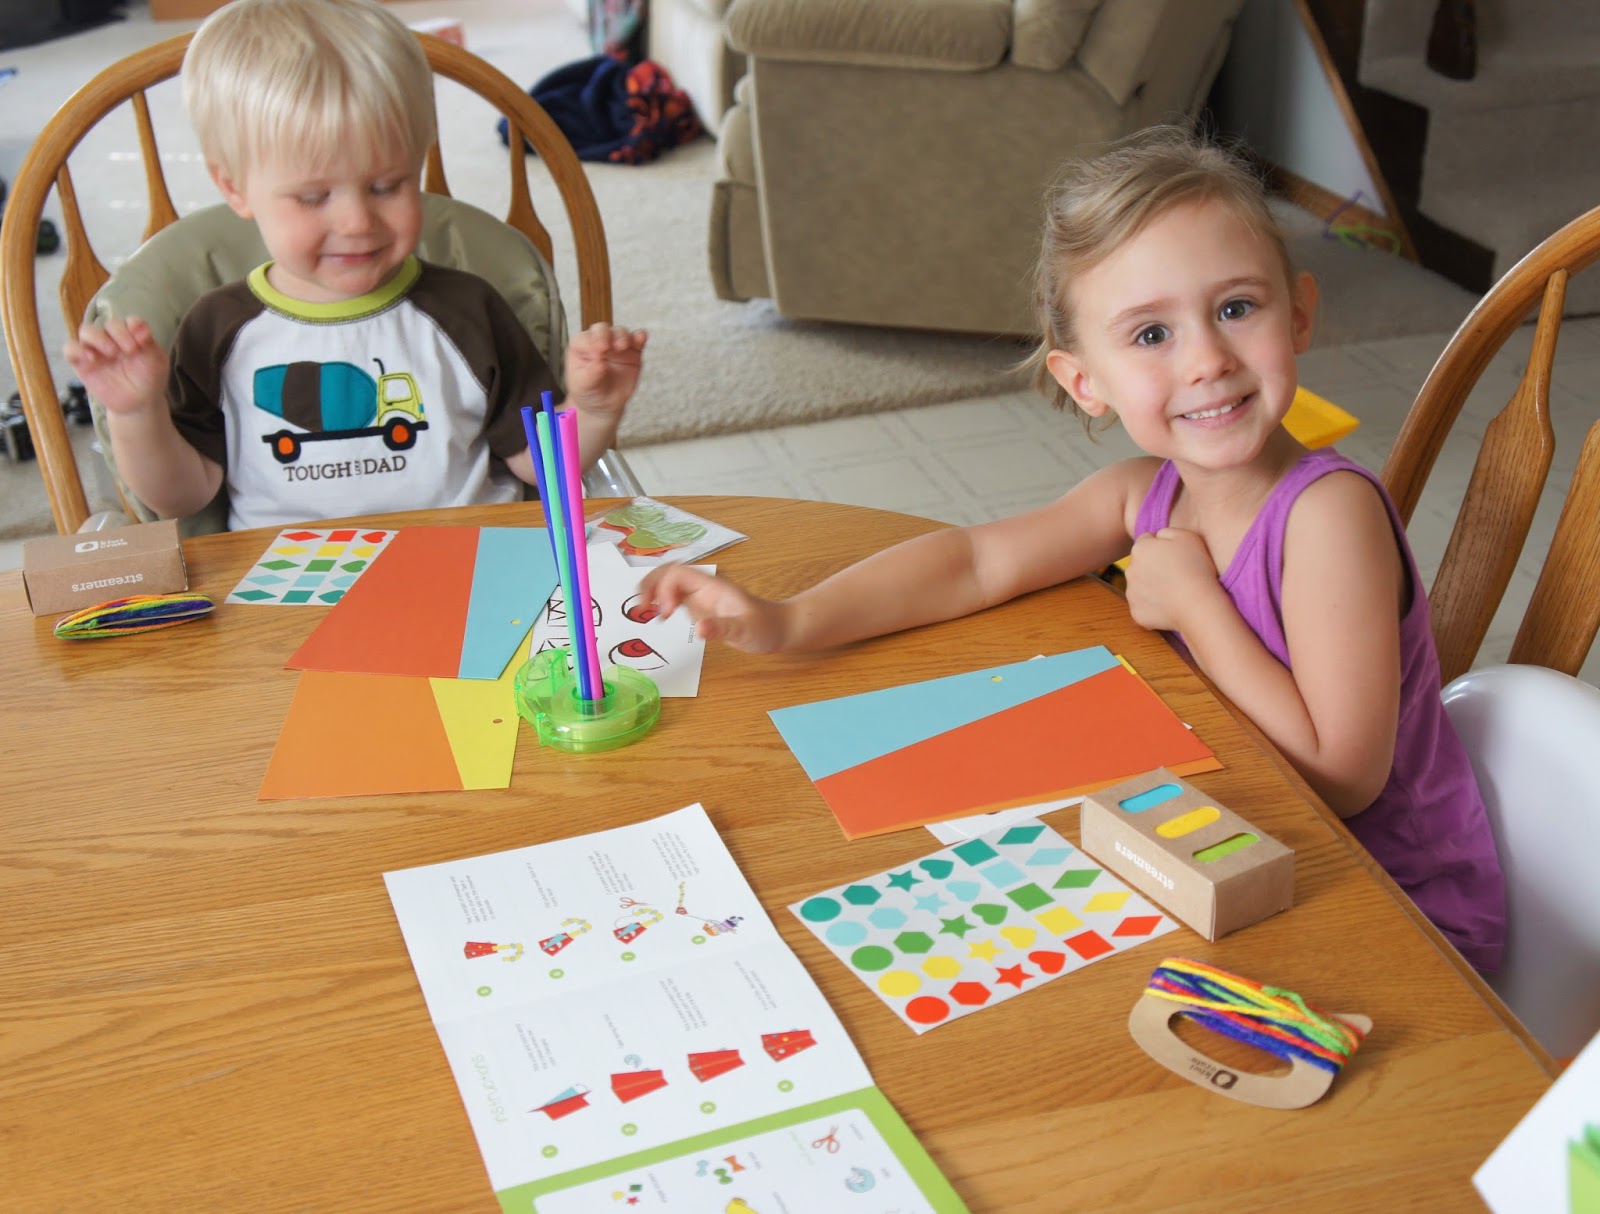
The next night we were short on time so luckily there was a small craft we were able to do together. It consisted of punching out pre-cut pieces of paper and putting them together to make different types of "fliers". The kids loved this and our living room was transformed into an airport as they tested each flier out. 


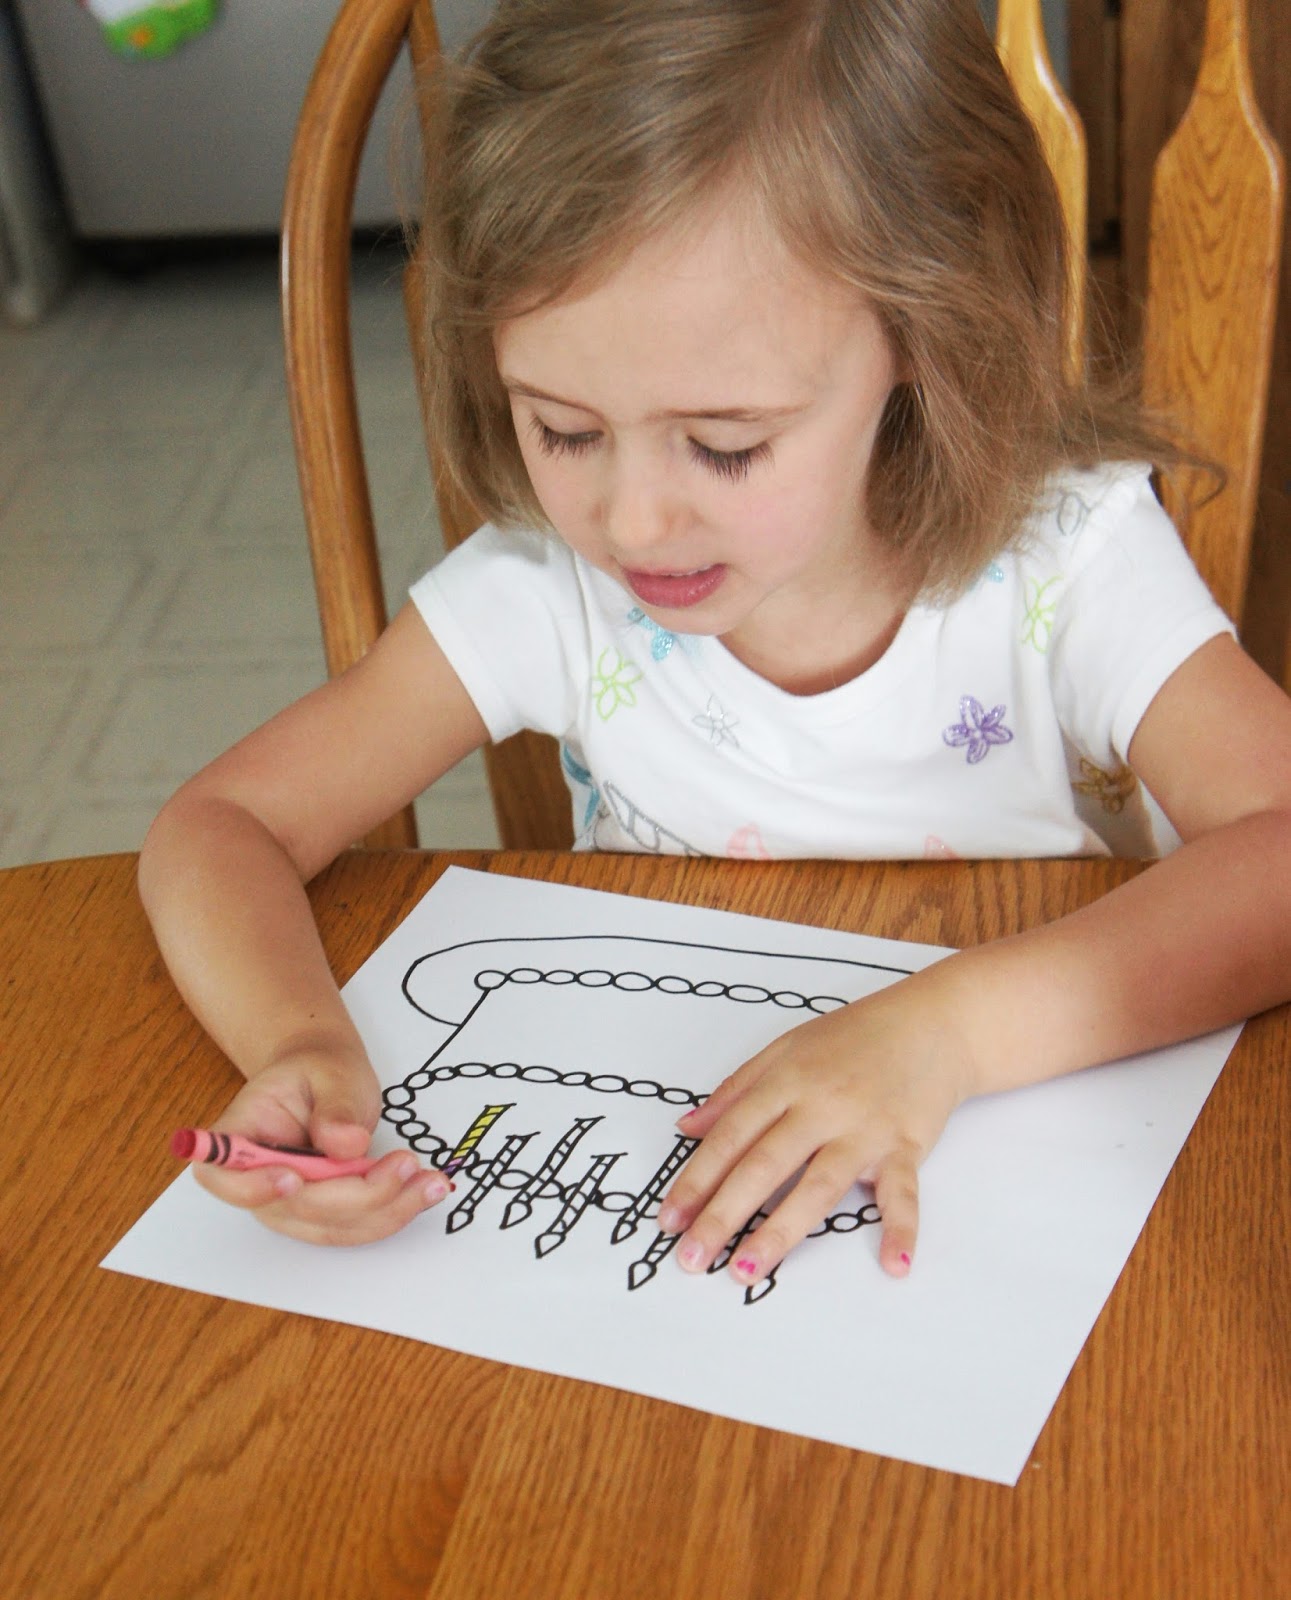
Our final craft for the month was to make rockets. Again everything we needed to make the rockets was included in the box. And the best part was being able to measure how high our rockets would shoot against our fancy backdrop.


Words cannot express how awesome these crates are. I love how all of us have fun and cannot wait until next months crate arrives. We are looking forward to the next 3 months of crates after getting a sneak peek....


Also, for a limited time they are running a great back-to-school sale. So if you want to join the fun definitely check it out!! It is definitely worth every penny in my opinion!
Save up to $20 with Kiwi Crate's Back to School Sale! shop now ››

 photo FightAgainstBoredomSignature2_zpsc09e8e8d.png

Monday, August 19, 2013

Stained Glass Sun Catcher

My mom celebrated her birthday this past week and so the kids and I decided to make her something extra special and pretty! I had been wanting to make a sun catcher with Alivia for a long time. After realizing how easy and quick these were to make I think there will be many more made in our future.

Materials

Plastic Faceted Beads
Pie Pan
Nylon String
Suction Cup (to hang the sun catcher)

Directions

1. Pour your beads into the pie pan. You can arrange them into a special design or pattern. Both Alivia and Bennett had fun taking handfuls of beads and dumping them into the pan and arranging them in their own particular order.


2. Make a design inside the beads. The heart came into our design accidentally. Originally we were going to make a sun catcher that filled the entire pan. However, I had only bought one package of beads and there was no way that was going to be enough. So our fix was to carefully create a heart in the middle of the pan. You can use a cookie cutter to make your shape perfect if you have one. I had to use my hands due to my missing cookie cutter. Unfortunately I had to make my heart several times since Bennett kept sneaking up behind me and shoving his plastic pig in to eat (never a dull moment in this house).


3. Carefully place the pan into a 400 degree preheated oven for 15-20 minutes. As the plastic melts there will be a strong smell. We opened the windows up in the house and the smell went away quickly. I have heard that melting the beads inside a grill works if you want to avoid the smell in your house.


4. Once the beads have melted take a needle and poke a hole near the top. This will allow you to thread your nylon string once cooled.


5. Once the sun catcher has cooled it will pop right out of the pie pan. You can then thread your nylon string through the hole and hang it up in the window using a suction cup. We purchased a package of eight really cheap at our local craft store.


Liv had a hard time taking the sun catcher down to wrap up. She wanted to sit and stare at it all day. I will admit it caught the sun and shone beautifully. Almost like stained glass! Now that I know how easy this sun catcher was to make you better believe it will be a part of our future projects! I am thinking this might be the perfect Christmas Ornament gift from the kids this year.


 photo FightAgainstBoredomSignature2_zpsc09e8e8d.png

Thursday, August 15, 2013

Kiwi Crate Back To School Special


I just wanted to share the great deal Kiwi Crate has going on right now. These craft kits are great and both of my kids love doing them. What is even better is that everything you need is already included in the box so there is no need to go running out for supplies.

Here is just a sample of the fun we have had with Kiwi Crate this past summer....


Save up to $20 with Kiwi Crate's Back to School Sale! shop now ››


If you have been wanting to give Kiwi Crate a try don't miss this awesome deal!
 
 photo FightAgainstBoredomSignature2_zpsc09e8e8d.png

Wednesday, August 14, 2013

Wood Bead Pipecleaner Bracelets

After our Bendy Dolls project a couple of weeks ago we had some supplies leftover in our craft closet. So for a fun and easy project Liv and I decided to make some jewelry to wear. Bennett even helped with the fun.

Materials

Pipecleaners
Wood Beads

Directions

1. Take one pipecleaner and bend the end to create a stopper for the beads. Make sure you bend enough to connect the ends of your bracelet once you are done stringing.

 
 2. String away! I took the opportunity to help Liv with her pattern making skills. Bennett just liked using the big beads (at least the ones Liv allowed him to use). 


 3. Once you have enough beads on the pipecleaner to make your bracelet, unfold your stopper end and twist the ends together. I slid the beads over the pipecleaners for extra reinforcement and to protect fingers from the sharp ends of the pipecleaners.


Both Liv and were excited with the end result. Not bad for a bracelet on the fly!

(I love the pattern Liv and I made together!)
 
We still have some beads left over for another project I will share soon!
 
 photo FightAgainstBoredomSignature2_zpsc09e8e8d.png

Monday, August 12, 2013

Birthday Cake Coloring Page

Our family loves a good party which is great since we have a large family and a lot of friends with young kids.

A couple of years ago I wanted to personalize a gift and let Alivia take part in it. To accomplish this I drew a picture of a birthday cake and Alivia colored it in.  The next party we were invited to Alivia requested another picture to color.  At this point I decided to scan my drawing into the computer and I now just print it off when we need it.

I have lost count how many times Alivia has colored this cake over the years. She has evolved from coloring scribbles to making sure each candle is a different color. Bennett is starting to get into the fun now too...and is "trying" to stay inside the lines. :)


(Liv's friend Hayden's gift.)

(Concentrating!)

(This little boy loves to do what his "sissy" is doing.)


This single page has kept my kiddos busy so many times that I wanted to share it with you. Also, I am notorious for buying a gift and forgetting the card so this comes in handy during those times as well!


If you are having trouble printing this image please right-click, select save as, and then save to your desktop. You can then open the image on your desktop and print from there. Have fun!

 photo FightAgainstBoredomSignature2_zpsc09e8e8d.png

Friday, August 9, 2013

Foam Dough

We have been very busy around here. Alivia participated in vacation bible school last week and we are still trying to catch up from those late nights. Although we were barely home we did manage to make some foam dough which I blogged about over at Momaha.com.


The dough was definitely messier than I had thought it would be but we had a ton of fun.

I hope everyone is enjoying their weekend! I hope to be back next week with some fun projects the kids and I have done.

Wednesday, August 7, 2013

Chocolate Oatmeal No-Bake Cookies

These cookies are fast, easy, and oh so yummy! I also like to pretend that they are somewhat healthy since they have oatmeal in them (I can dream!).

Ingredients

2 c. sugar
1/2 c. butter
1/2 c. milk
6 T. cocoa
3 c. quick oats
1 t. vanilla


Directions

1. Bring sugar, butter and milk to a boil for 1 minute.

2. Stir in cocoa, quick oats, and vanilla.

3. Mix well and drop on wax paper.

4. Enjoy the yummy gooey goodness!  These are always a favorite in my house!


 photo FightAgainstBoredomSignature2_zpsc09e8e8d.png