Showing posts with label Other Holidays. Show all posts

Monday, August 12, 2013

Birthday Cake Coloring Page

Our family loves a good party which is great since we have a large family and a lot of friends with young kids.

A couple of years ago I wanted to personalize a gift and let Alivia take part in it. To accomplish this I drew a picture of a birthday cake and Alivia colored it in.  The next party we were invited to Alivia requested another picture to color.  At this point I decided to scan my drawing into the computer and I now just print it off when we need it.

I have lost count how many times Alivia has colored this cake over the years. She has evolved from coloring scribbles to making sure each candle is a different color. Bennett is starting to get into the fun now too...and is "trying" to stay inside the lines. :)


(Liv's friend Hayden's gift.)
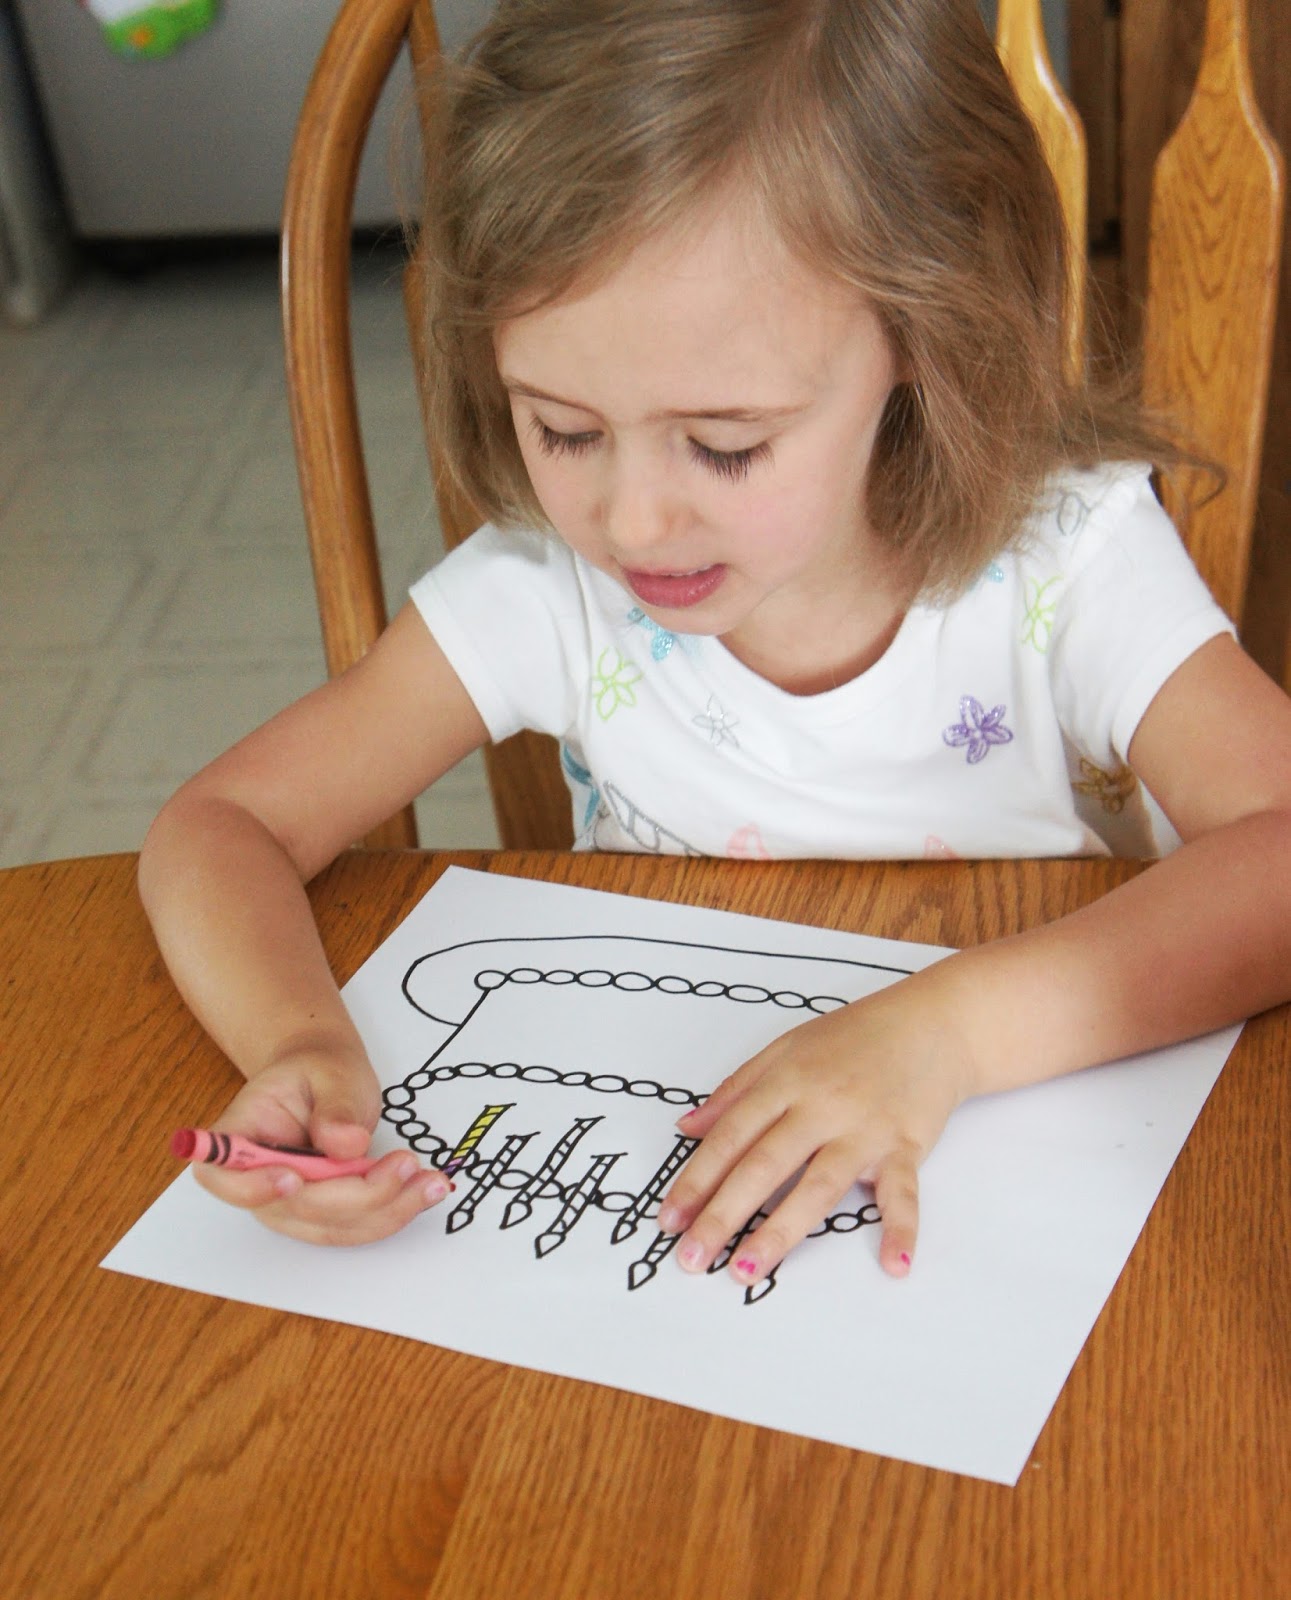
(Concentrating!)

(This little boy loves to do what his "sissy" is doing.)


This single page has kept my kiddos busy so many times that I wanted to share it with you. Also, I am notorious for buying a gift and forgetting the card so this comes in handy during those times as well!


If you are having trouble printing this image please right-click, select save as, and then save to your desktop. You can then open the image on your desktop and print from there. Have fun!

 photo FightAgainstBoredomSignature2_zpsc09e8e8d.png

Friday, June 28, 2013

Pop Bottle Rockets


We were in need of a low mess activity tonight. My work week was crazy busy and our house needed some major cleaning. So tonight while I cleaned up the kids were entertained by shaking these paint filled pop bottles. Both had fun and even better there was not much of a mess once we were done!


Materials
Pop Bottle (we used a 2 liter bottle)
Acrylic Paint
Construction Paper
Scissors
Tape
Marker


Instructions

1. Pour some paint inside the bottle and screw the bottle lid back on tightly.


2. Shake, shake, shake! Add a little more paint in another color and shake some more!


3. Using the construction paper create a cone over the top of the bottle. Secure with tape.


4. Lay the cone shape flat and cut off the excess paper. Then secure onto the bottle using more tape.


5. Decorate your bottle with markers. A simple "USA" worked for us!


 I hope that you enjoyed my week of 4th of July themed crafts. Check out other ideas here and here. Also, be on the lookout for my guest blog on www.momaha.com this Saturday morning for Pipe Cleaner Fireworks!

Have a great weekend everyone....we are off to the pool!

 photo FightAgainstBoredomSignature2_zpsc09e8e8d.png

Wednesday, June 26, 2013

4th of July Lantern

In our house a nightlight is very important. Both of my kids cannot go to sleep without one and I cannot maneuver a room in the dark without breaking something (toy or toe). So we decided to redo this project from a couple of years ago only with a Patriotic twist.


Supplies
 
Plastic Jar
Painters Tape
Marker
Paint
Scissors
Foam Paint Brush
Battery Operated Tea Light
 
 
Directions
 
1. Using a marker draw stars directly onto your painters tape roll.


2. Cut out the stars and place onto the plastic jar. We used a recycled peanut butter jar which we seem to have plenty of (mayo jars are usually plastic too)!

 
3. Using your foam brush paint the entire jar. Make sure the stickers are completely covered.
 
4. Once the paint has dried carefully peel back the stars.

 
5. Place a battery operated tea light into the jar and turn out the lights!
 
 
I am happy to report both kids went straight to bed when I told them we could use their new night light! Liv only asked for drink of water maybe once (okay twice)! ;)


 photo FightAgainstBoredomSignature2_zpsc09e8e8d.png

Monday, June 24, 2013

Handprint Flag

We are in a patriotic mood this week. The kids are very excited for next weeks festivities and I thought it would be fun to do a couple of crafts celebrating such a great day in our history. Both kids love having their hands painted so of course they loved this craft.


What You Need

Paint (Red, White, & Blue)
Paint Brush
Construction Paper

What To Do

1. Paint your child's hand as pictured.


2. Stamp onto paper before the paint dries.

3. Use your fingertips to paint on the stars.

Come back Wednesday for another fun 4th of July themed craft!

 photo FightAgainstBoredomSignature2_zpsc09e8e8d.png

Friday, June 14, 2013

Balloon Surprise Gift

My husband and I have several nieces and nephews. It feels like for every occasion we either give them cash or buy them a gift card to their favorite store. There is nothing wrong with this. However, I always feel like it is such a dull gift to give someone.

 I came across this idea on Pinterest a long time ago and filed it away in my brain until the perfect moment arrived. My cousin graduated high school this past spring and his dad (my uncle) is the king of creative cash gifting. For my college graduation he gave me a clear plastic piggy bank stuffed full of $1 bills. For my sisters graduation he gave her a treasure chest of gold dollar coins. So I knew if anyone would appreciate this gift it would be my cousin.

Now I would suggest to plan ahead and find a huge box. I had to make due with what I had so there were not nearly as many balloons as I would have liked. In my mind I had pictured 20 to 30 balloons but quickly realized my box would only hold about 10. The gift still did its job though.

 Inserting the money into the balloon is simple. Simply roll the money up tightly and slide in prior to blowing up the balloon as pictured. We also added some confetti to each balloon for extra "popping fun". :)

I was nice and taped a needle inside the card attached to the gift.  The look on my cousins face was priceless as he tried to figure out why his card contained a needle. I couldn't help but laugh when he openned his gift to find out why.


Tell me who would not want to open up a box full of balloons! And in my cousins case a box full of balloons stuffed with money!

Do you have any creative gift ideas you would like to share? I am always on the hunt for something!

 photo FightAgainstBoredomSignature2_zpsc09e8e8d.png

Monday, June 3, 2013

DIY Wrapping Paper

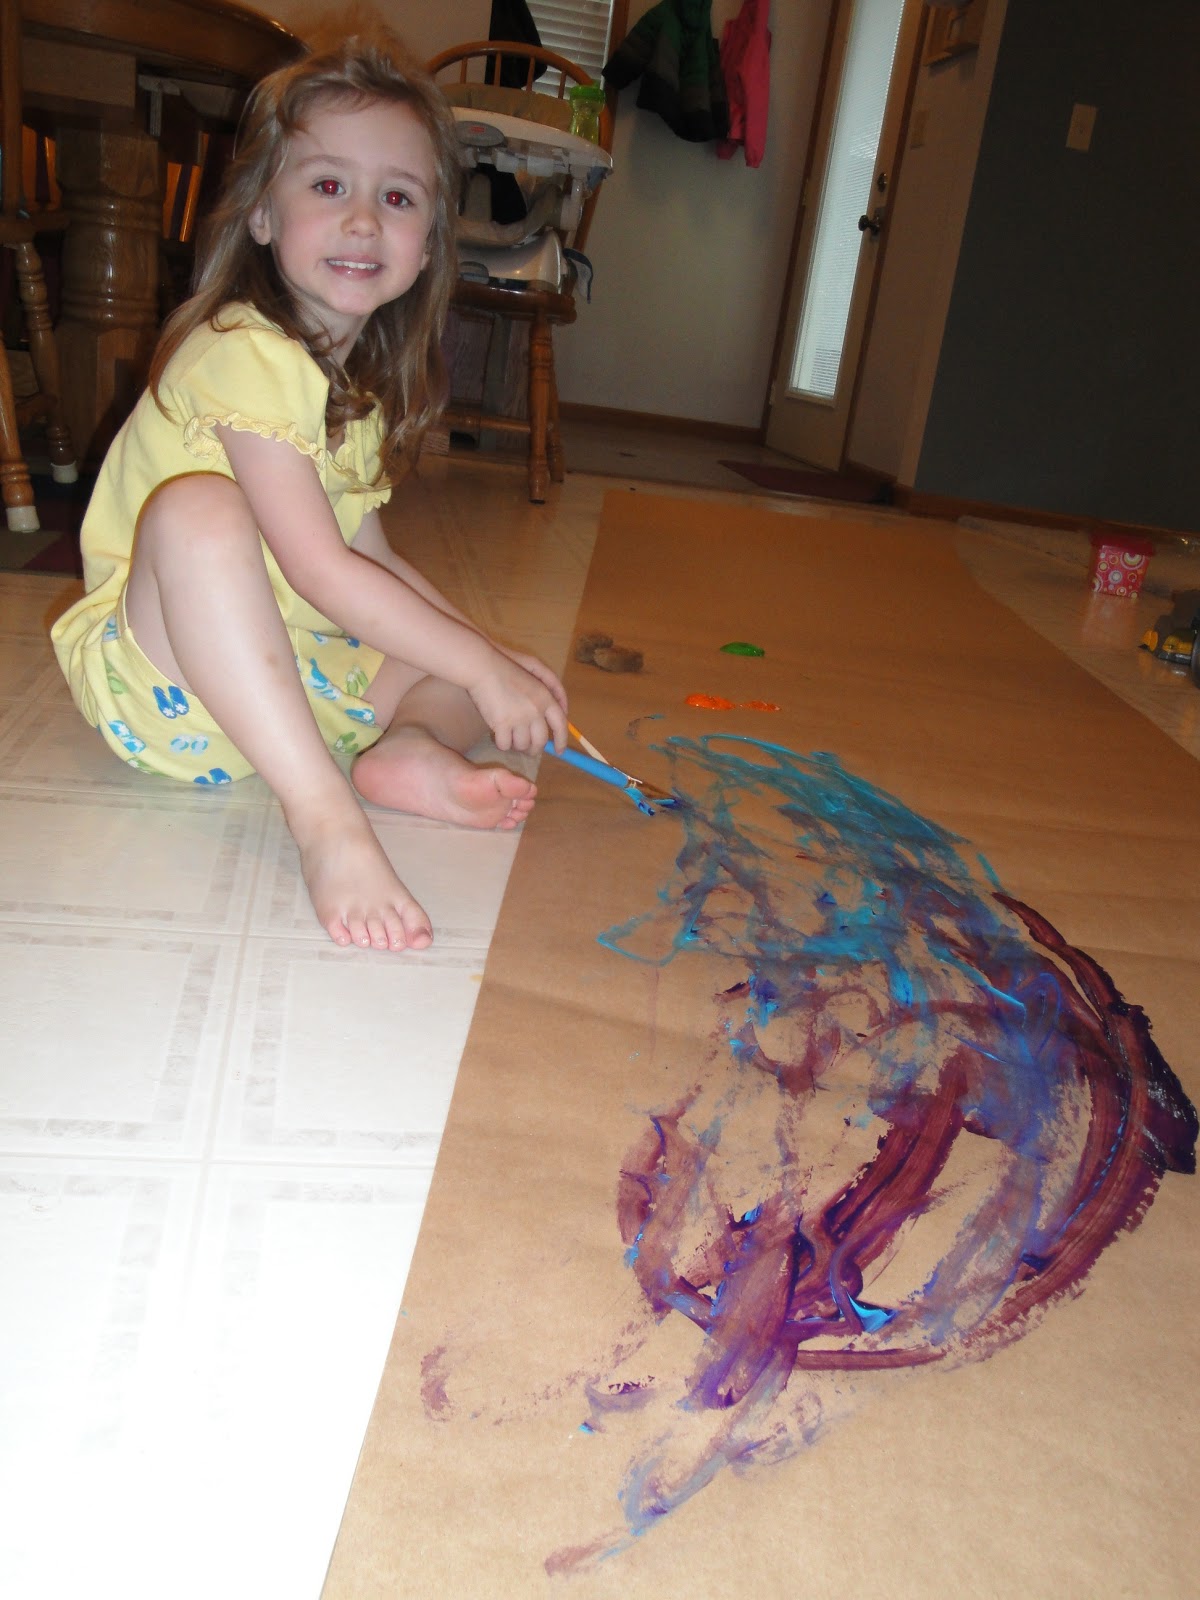
When it comes to giving gifts to our family members I love it when we can add a personal touch. One day my husband came home with a roll of craft paper that his aunt was going to throw out.  I instantly knew that the paper had found a much better home than the dumpster (the package had not even been opened). I had originally planned on rolling the paper out on the driveway and letting the kids go at it with paint. But what do you do when it looks like this outside?


Paint inside of course!


We ended up rolling the paper out on the floor and squirting finger paints onto the paper. Alivia used paint brushes, sponges, fingers, and at times her feet to decorate.


This was actually easy to clean up as long as Alivia stayed on the paper and kitchen floor.


And once the paper had dried we had some very colorful wrapping paper.


Below is a snapshot of the label from the craft paper. As you can see we have a 50 sq ft roll so we have plenty of gift wrap opportunities ahead!


 photo FightAgainstBoredomSignature2_zpsc09e8e8d.png

Monday, May 20, 2013

Modge Podge Photo Collage Flower Pot

I am so happy with how these flower pots turned out. The best part was that they were easy to make and inexpensive. Most of the supplies I already had on hand and the terra cotta pots were purchased from the dollar store for $1.50 each. This project was time consuming (1 1/2 hours spent putting together each pot) but I split out the steps over the course of two nights once the kids were in bed. Add a bottle of wine and this was one relaxing project!


What You Need

Terra Cotta Flower Pot
White Acrylic Paint
Favorite Photos printed in black and white on printer paper
Modge Podge
Foam Brush
Scissors
Acrylic Sealer (in the craft section typically by the modge podge)

What To Do

1. Paint the flower pot with the white paint using a foam brush. This may involve several coats of paint (make sure pot dries completely after each coat).


2. Trim down your pictures as pictured below. I printed nine pictures to each sheet of printer paper. As I glued each picture to the pot I trimmed the pictures down further.

 
3. Using Modge Podge and a foam brush paint the back of each picture and adhere to the flower pot.

4.  Once each picture has been glued to the pot paint a layer of Modge Podge over the entire flower pot. This will protect your pictures, paint, and give your pot a glossy look.

5. Once the flower pot has dried spray an acrylic sealer to help eliminate any tackiness.


We picked up small containers of flowers at our local grocery store to place into the pots before gifting.  Everyone loved their flower pots and the best compliment was when everyone asked where I had bought them from (I fooled them!). So if you have a little time and you are looking for a personalized inexpensive gift I would definitely recommend giving this project a try. I am sure you will be happy you did!


 photo FightAgainstBoredomSignature2_zpsc09e8e8d.png

Monday, April 29, 2013

Birthday Interview Printable

Last year I started a tradition with Alivia. I wrote down a set of questions and then interviewed her the night of her birthday. You can read the questions and answers from her 3rd Birthday Interview here. This year I decided to type the questions out ahead of time. It looks much nicer than my old method of writing in a notebook :)


I uploaded the above document using Google Drive. In order to print the document you may have to right click on the document, save as a picture, open your saved picture file, and print.


 photo FightAgainstBoredomSignature2_zpsc09e8e8d.png

Friday, April 26, 2013

Ice Cream Cone Cupcakes

Alivia is celebrating her 4th Birthday today! I still can't believe how fast she is growing up. I am taking the day off and we are spending the day in the city. She has requested to eat somewhere with chopsticks for lunch (PF Changs may-be?) and a friend of ours gave Liv a giftcard to Build-A-Bear (meaning we will spend our afternoon at the mall).

Due to our adventures today Alivia took her birthday treats to school yesterday. I had been wanting to make these ice cream cone cupcakes with her for a long time. My mom who is an excellent baker (a trait I did not inherit) would make these for me when I was a kid. Although our cupcakes did not turn out as fancy as hers always did we are still very proud of them!


What You Need

1 Boxed Cake Mix and the ingredients mix requires (we used a funfetti cake mix)
1 Can of Frosting (we used the funfetti vanilla frosting that came with its own sprinkles)
2 dozen ice cream cones
1 muffin pan

What To Do

1. Mix the cake mix and preheat the oven according to the package instructions.

2. Place the ice cream cones in the muffin pan as pictured.


3. Fill each ice cream cone with cake batter about 2/3 full.


4. Bake in oven according to cake mix directions. Insert a toothpick into the cupcake and if the toothpick comes out clean then your cupcakes are done.


5. Decorate your cupcakes to look like real ice cream cones. I simply spread the frosting onto each cupcake with a butter knife and threw on some sprinkles. My mom would always get out her cake decorating tips when I was a kid and make a swirling pile of frosting on top. Both taste excellent! :) 


You may be wondering how to transport these once they are finished. We simply wrapped napkins on the base of each cupcake and filled up a cake pan to carry them in. I am happy to report all arrived to daycare in one piece. Have fun!

 photo FightAgainstBoredomSignature2_zpsc09e8e8d.png

Wednesday, May 30, 2012

Mother's Day Gifts

One thing I have learned when it comes to gifts to the Grandparents is that they love the homemade gifts. Especially my Mom. And the look on Alivia's face when she gives those gifts is priceless. This year we painted some of the wooden knick knacks I had picked up when browsing the Target "One Spot". This birdhouse was fun and easy and looks great hanging out with Grandma's house plants. To mix things up a bit we painted the house one color and then took a sponge and painted overtop for a textured look. I kind of wish I had one of my own now!